These days baby boomers are more active than ever. As 70 becomes the new 50, the demand for medical implants is on the rise. According to the American Joint Replacement Registry, “hip and knee implants account for more than 85 percent of the joint reconstruction and replacement market.” The American Joint Replacement Registry also notes that more than 7 million Americans have had a knee or hip replacement surgery.
The prismatic or 3D parts that are used in joint replacements - along with other medical devices like stents and their coatings or instruments like scalpels - are tough to manufacture and even more difficult to inspect. Myriad geometries and materials contribute to the challenge of producing parts that meet stiff regulatory requirements. Meeting delivery deadlines can also present another snag if a manufacturer doesn’t have a fast and accurate inspection system.
Prismatic parts are simple block or flat shapes, usually processed on a milling machine, shaper or planer. Basic features can include slots, steps, holes and bosses that can intersect with one another. To measure, programmers determine data points based on parameters like tolerance, part geometry and/or squareness. The goal is to form two planes in a bore at various depths. The programmer then takes data points around these diameters, forming a cylinder, then measures these data points to verify squareness. Bone plates for example are flat or close to flat. Knee implants on the other hand are complex, full-contoured 3D components. One family of parts (such as bone screws) can come in different sizes with radically different geometries, all requiring accurate yet fast inspections to meet cost efficiency objectives and specifications.
Because of the nature and function of medical parts, a quality failure carries serious implications. 3D optical profiling is one way to measure medical implants and instruments. Non-contact inspection can be performed without impacting sterilization. Conventional coordinate measuring machines typically aren’t up to the task, but a multi-sensor lab-grade CMM equipped with a REVO-2 RVP vision probe brings 5-axis measurement capability to medical manufacturers. The RVP provides non-contact vision measurements on a 5-axis platform with infinite positioning, making it the appropriate choice for inspection of parts with small features or delicate/flexible components.
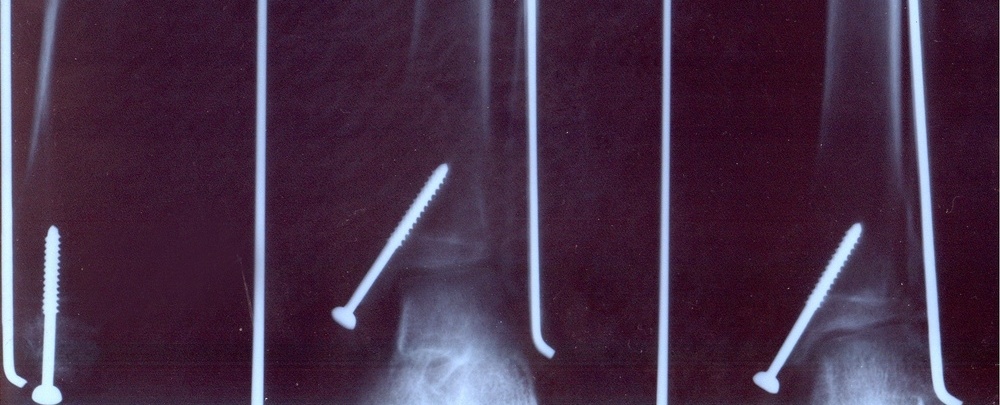
Bone screws have numerous features that must be inspected. At its helix angle, one end of the screw is closer to the camera than the other end. Like typical depth of perception through a camera lens, the two ends would be out of focus with traditional systems.
Advanced systems like the REVO-2 can increase throughput with the ability to scan at speeds of 500 mm/sec and collect data at up to 4,000 points per second. Infinite positioning, five-axis motion and rapid calibration minimize CMM motion yet provide access to difficult features. Flexible tip sensing contributes to the system’s accuracy and flexibility.
REVO-2 is the only scanning system for CMMs that simultaneously controls the motion of three machine and two head axes while collecting work piece data with 2D and 3D tactile probes, a surface roughness measurement probe or a non-contact vision probe. The head has been engineered to incorporate sophisticated laser measurement and electrical signal transmission technology for precise and fast work piece measurement.
But shape and surface aren’t the only things manufacturers have to worry about. Material types add another degree of difficulty. Implants such as those constructed for knee replacements are made of titanium. The alloy is widely used because of its corrosion resistance, bio-inertness, capacity for osseointegration and high fatigue limit. Other metals like iron, cobalt, chromium and tantalum are also frequently sourced along with specialized plastics like high-density polyethylene. Each presents a different appearance to a CMM.
Surface finishes offer another variable to an already complicated inspection process. Condyle implants are highly polished whereas components fabricated for bone integration are porous. Production volume is another area where speed comes into play. Production lots tend to be small so programming has to be minimal and throughput high - another reason to consider a CMM equipped with a REVO-2.
The right CMM combined with the right probe can eliminate a lot of the headaches associatedwith inspecting medical parts. Call us today to find out we can simplify your supply chain.


