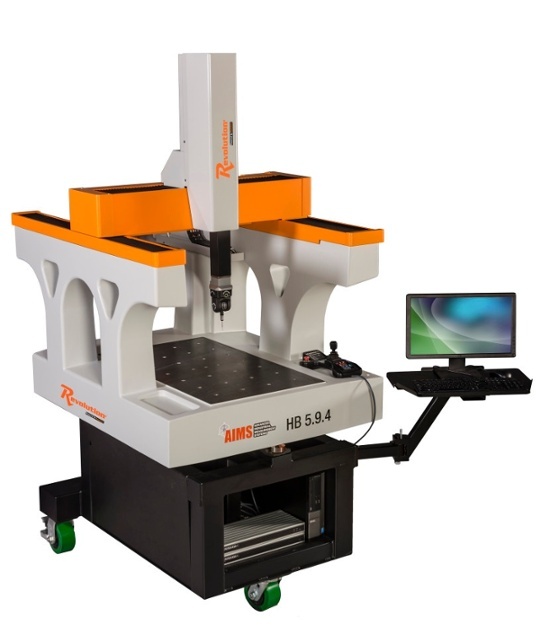
So how does a CMM consistently pinpoint accurate measurements unfettered by exposure to thermal expansion coefficient? Let’s take a look under the hood and find out.
Renishaw’s Fastrack linear encoder scale system combines ±5 μm/m accuracy with the ruggedness of stainless steel and an easy-to-install carrier-type encoder system. Two miniature guide rails retain low-profile scales (8 x 0.2 mm cross-section) that freely expand at a thermal expansion coefficient that is independent of the machine structure with almost zero hysteresis.
When integrating high precision measurement probes into a complete system, it is important to assure the systems around the probe are designed to support high precision measurement, AIMS’ Revolution 5-axis mobile HB CMM and Renishaw’s Fastrack complement each other. The HB’s X and Z axes are made of steel which also contracts and expands. Since the dissimilar materials of the Fastrack and the HB’s X and Z axes are able to contract and expand independently of each other, accuracy and repeatability are maintained.
The surface temperature of a conventional CMM can expand due to heat and then contract during cooling. The HB remains impervious to temperature changes due to two design features. To engineer the machine, AIMS Metrology started at "ground level," creating a stable base using castinite polymer composite material. Castinite is a mix of high-strength epoxy with chemical additives that release air and improve adhesion to a blend of pure, high-strength mineral aggregate fillers.
Metallic structures can distort quickly due to minor head loads. Heat builds up in one section and transfers to another, causing malconformation. Transient heat loads in a machine’s structure can result from something as simple as outside doors being opened or sunlight coming through a window. Use of castinite eliminates this issue because the material is thermally stable. As a result it can replicate flat part surfaces between 1 and 2/10,000th of an inch.
Fastrack is designed for applications that demand high accuracy while the HB has been engineered to withstand the rugged environment of the shop floor.
The linear encoder scale system can be used with either Renishaw's RTLC incremental scale and super-compact TONiC™ readhead, or the new RESOLUTE™ linear absolute encoder and RTLA absolute scale. In both cases, the encoders feature advanced optoelectronics conferring resolutions to 1 nm, low sub-divisional error (SDE) and very low jitter for smoother velocity control and positional stability.
The Fastrack’s scale can be quickly pulled and replaced, minimizing down time. The HB comes equipped with Renishaw TONiC and FASTRACK encoder scale system. Its precision drive systems are durable and give reliable inspections in any shop floor environment. Lightweight bellows and covers protecting the machine’s components create friction-reducing, smooth-running and precise performance. The HB’s vibration dampers also further reduce the amount of shock and vibration to prolong machine life.
If you need to assure that your measurement systems are impervious to temperature variations start with a CMM that can give you repeatable, accurate measurements and make sure it’s an HB with a Fastrack linear encoder scale system.


