Expo Manufactura 2018 was held in February and drew more than 12,500 visitors to Monterrey, Nuevo León. The 3-day event targeted Mexico’s manufacturing and processing industries and featured the technologies and processes needed to support automotive spare parts, aerospace, energy, medical devices, electronics and home appliance supply chains. More than 300 companies exhibited their products.
The Expo is recognized as the most important exhibition in the region. As an attendee, I was somewhat surprised at the lack of coordinate measuring machines (CMMs) on display. In addition to seeing just a handful of CMMs, there were no mobile shop floor models. While in Monterrey, Nuevo León we visited a couple of customers and got a clearer picture of current quality inspection methods. Both customers are Tier 1 and Tier 2 automotive manufacturers.
The majority of plants in this region are using hand gauges and calipers to measure parts. Manual inspection is widespread with little to no automatic inspection methods in place. As a result, while some companies can manually enter data with a software program, most are keeping paper records. Paper documentation is primarily kept so that if a part is rejected, data can be pulled from archived files.
It’s possible to manually measure small and large parts with the same gauge but the disadvantage is that when done by hand, a gauge can be manipulated. A part can be read as good or bad depending on the position it's held in. One operator might gauge a part differently than another simply because of the inherent variability in that type of measurement. These inspection and record keeping methods can add considerable time to jobs as well. As the tolerances for parts grow tighter and tighter, use of manual gauges in many cases will no longer meet a manufacturer’s (and its customers) needs.
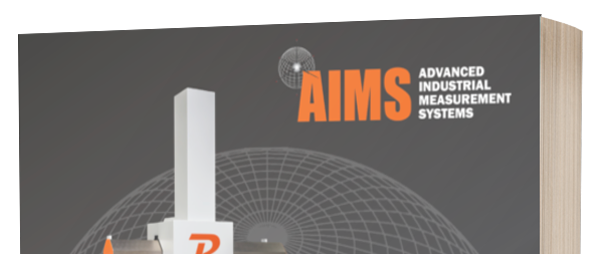
One fabricator we visited found itself bogged down with legacy equipment which meant measuring practices were taking longer than they should. They were looking to upgrade to a machine that could be supported with current software and probes. A mobile 5-axis shop floor CMM like the HB can eliminate the need for gauges as well as longer inspection times and manual record keeping. The value of a mobile 5-axis CMM in the labor-intensive collection and inspection environment of an automaker is significant.
The HB is equipped with a Renishaw 5-axis PH20 probe. Its unique "head touches" allow measurement points to be taken by moving only the head. The rigidity of the HB’s polymer-cast, vibration-resistant base anchors the probe head. The result is rapid throughput and greater accuracy. The speed and efficiency of the PH20 allows customers to reduce inspection time for complex part characteristics from days to minutes when compared to conventional surface profiling methods like a sine bar and optical comparator. Available measuring ranges are 5.9.4 – X:500mm Y: 900mm Z: 400mm and 8.10.6 – X: 800mm Y: 1000mm Z: 600mm.
Thermal stability and mechanical bearings add additional protection from the harsh shop floor environment. A Renishaw TONiC and FASTRACK encoder scale system support a high degree of accuracy. Precision drive systems provide reliable inspections under any shop floor conditions. Lightweight bellows and covers protect the machine’s components for reduced friction and more precise performance. A unique undercarriage equipped with one steer and two stationary wheels allows two operators to easily move the HB anywhere on the shop floor. A 110/220 volt outlet eliminates the need for shop air.
When you consider the return on investment for just one HB, I think it’s safe to say the market in Mexico is ripe for a 5-axis shop floor CMM that is truly mobile.


