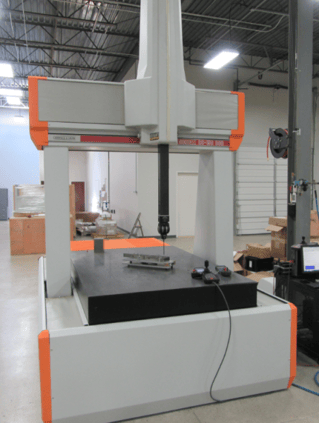
 June 1, 2016. Have you heard the hype about Renishaw’s new REVO-2? AIMS Metrology performed yet another CMM retrofit for a tier I supplier in the aerospace industry, but this time, we retrofitted Renishaw’s REVO-2 on a Sheffield RS-150 – making it the first of that model to now use a REVO-2.
AIMS operation manager, Mike West, and his team of service engineers fit the new REVO-2 on the large bridge CMM.
“Within our arsenal of new lab machines, shop floor machines, and used bridge machines, we can find a machine large enough for the customer’s parts, and with the REVO-2, it provides the throughput and accuracy they need through the head scans REVO-2 provides,” stated West.
We go above and beyond for our customer’s situations. AIMS can offer a machine retrofit at half the price of a new machine, and with a much quicker delivery versus a new machine. AIMS makes sure that we work with our customers – no matter how small or big – and within their budget to find the best solution possible.
Another benefit of AIMS’s services is that we can bring new life to older machines and get them to perform like new again. Through AIMS, Renishaw, and now the new REVO-2 scanning head, the used RS-150 gets new life outside its original capabilities. It now functions just like a newer CMM model because of AIMS’ service team, and REVO-2’s benefits, and is now extremely efficient. REVO-2 also saved this Sheffield from becoming obsolete and made it just as valuable as any other CMM on the market.
Information About REVO-2
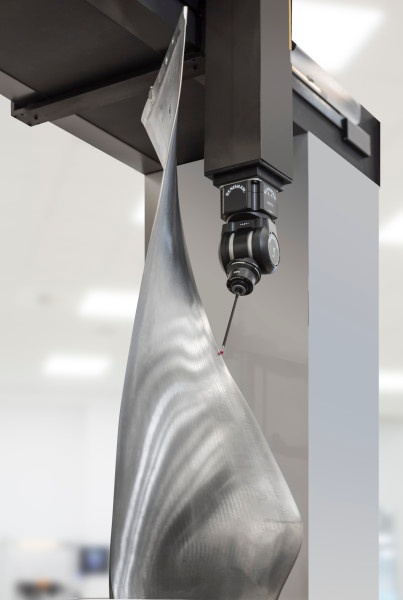
For anyone who hasn’t heard yet, Renishaw’s REVO-2 is a new and improved version of the multi-award winning REVO® scanning probe head. It features enhanced power and communications capability to carry the latest sensors. It also has increased range in movement in the negative A-axis which enables the REVO-2 to more easily access parts which also reduces the complexity of stylus setups.
More information about it comes from Renishaw’s news page. “The REVO-2 is a whole new type of scanning probe head. It is the only scanning system for CMM’s that simultaneously controls the motion of three machine and two head axes while collecting workpiece data using its range of 2D and 3D tactile probes, surface roughness measurement probe and now non-contact vision probes too. The head’s novel design incorporates sophisticated laser measurement and electrical signal transmission technology for precise workpiece measurement at extremely high rates of data capture. The five-axis control system removes most of the unwanted dynamic errors associated with machine movement because the measuring head performs most of the work. As the head is much lighter and more dynamic than the CMM, it is able to quickly follow changes in the part geometry without introducing harmful dynamic errors. The REVO-2 multi-sensor system is managed by the same I++ DME compliant interface as the original REVO® product.”


